English
What Causes Telegraphing in Dry Back PVC Flooring and How to Prevent It?
Home > News > Industry News > What Causes Telegraphing in Dry Back PVC Flooring and How to Prevent It?

Content
Telegraphing in dry back PVC flooring is one of the most frustrating visual defects that can appear after installation. The surface of what should be a smooth, flawless floor develops ridges, bumps, or uneven waves that mirror hidden imperfections. Because dry back PVC flooring is thin, flexible, and glued directly to the substrate, it acts like a photographic print of whatever lies underneath.
For contractors, distributors, and facility owners, telegraphing is not just a cosmetic problem. It often signals that the installation system, whether subfloor preparation, moisture management, or adhesive application, has failed. Understanding the root causes is the best defense, because once the floor is glued down, correcting telegraphing can be expensive and disruptive.
If you are planning to install dry back PVC flooring, this guide covers every major cause of telegraphing, the steps to prevent it during installation, and the available options when the problem has already appeared.
 Waterproof Adhesive-Fixed Dry Back PVC Wood Plank FlooringThis slim-profile PVC flooring is designed for permanent adhesive installation, offering moisture resistance and Bfl-s1 fire performance. It suits moisture-prone areas and requires a perfectly leveled subfloor to prevent telegraphing, a key issue discussed in the guide.View Product →
Telegraphing can usually be traced back to one of six conditions. In most cases, several factors contribute at the same time, so identifying the exact source requires careful inspection of the subfloor and the installation process.
The subfloor is the foundation of every flooring installation. If the concrete slab has trowel marks, small cracks, pits, raised patches, or grinding scars, these imperfections transfer directly through the thin PVC wear layer. Even a deviation of one millimetre can become visible after the adhesive cures and the flooring settles into the contours of the slab.
Dust, loose debris, old adhesive residue, grease, or curing compounds left on the slab prevent the adhesive from forming a complete bond with the subfloor. The microscopic voids created by this contamination compress and expand under foot traffic, producing a wavy telegraphing pattern on the surface. A clean, dust-free substrate is a non-negotiable condition for dry back installation.
Concrete slabs can release moisture vapour for a long time after pouring. When dry back PVC flooring is installed over a slab with high moisture emission and no moisture barrier, the vapour collects beneath the adhesive layer. The resulting hydrostatic pressure lifts the adhesive bond and creates bubbles and ridges that telegraph through the floor. High ambient humidity during installation can also delay curing and weaken the bond.
Dry back PVC flooring is thin and has almost no built-in cushioning. Without a proper underlayment, there is no buffer to absorb minor subfloor irregularities or to block moisture. An underlayment that combines a vapour barrier with a closed-cell cushioning layer is often the difference between a smooth floor and one that telegraphs every flaw beneath.
Dry back PVC flooring depends on full contact between the adhesive and the back of the plank. If the adhesive is spread with the wrong trowel size, left past its open time, or applied too thinly, the bond becomes uneven. The ridges left by the trowel can reactivate and press through the plank, creating visible lines that repeat across the room.
Air can become trapped beneath the planks when they are not rolled with enough pressure after installation. These pockets may not be visible immediately, but under foot traffic or temperature changes they migrate and combine, forming raised bumps that telegraph to the surface. Proper rolling is not a finishing touch but an essential mechanical step.
The table below summarizes each cause and its visible symptom to help narrow down the diagnosis.
| Cause | Visible Symptom |
|---|---|
| Uneven subfloor | Ridges that mirror slab marks and cracks |
| Dust and debris | Scattered small bumps and wavy patches |
| Excess moisture | Bubbles, blisters, and wave-like swelling |
| No underlayment | Full transfer of substrate texture |
| Wrong trowel size | Repeating parallel lines across the floor |
| Trapped air | Soft spots and raised areas under pressure |
Preventing telegraphing is far simpler and more cost-effective than fixing it. Follow these five steps at every installation.
Before any adhesive touches the slab, evaluate the subfloor for flatness, smoothness, and soundness. Use a 2-metre straightedge to detect deviations; most manufacturers recommend a maximum tolerance of 3 mm. Grind down high spots, fill cracks and low spots with patching compound, and remove dust, oil, and old residue completely. The surface should be dull, dry, and smooth, with no visible marks.
Underlayment plays three critical roles: levelling minor imperfections, blocking moisture, and improving acoustic comfort. For dry back PVC flooring, an integrated vapour barrier is especially valuable. A cork-based underlayment with a PE film, for example, uses the natural compressibility of cork to absorb small surface deviations while the film stops moisture vapour from reaching the adhesive.
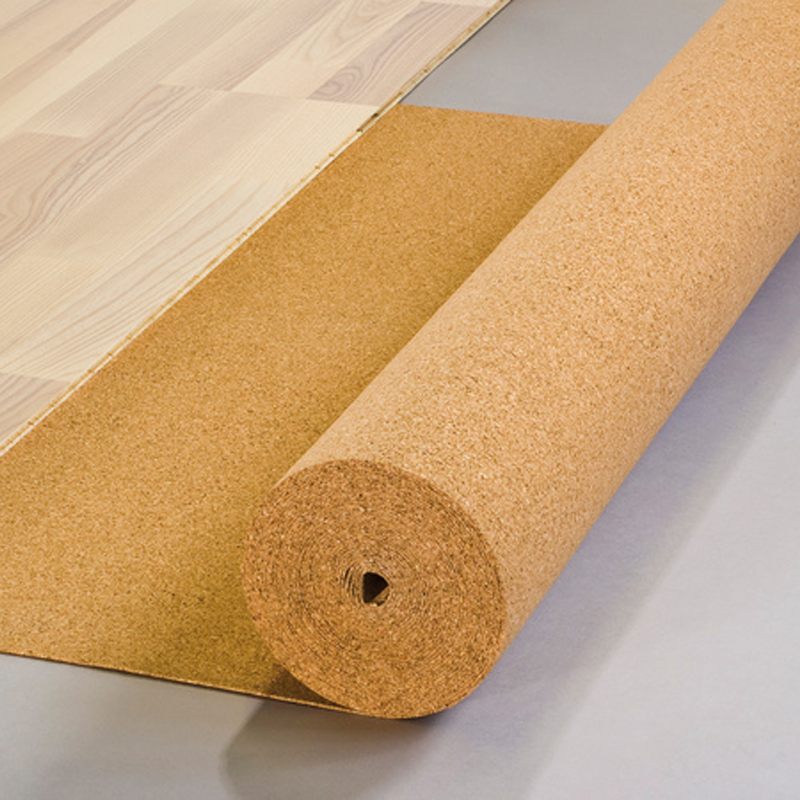 2mm Acoustic Cork Underlay with Vapour Barrier PE FilmFeaturing natural cork bonded to a PE film, this underlay absorbs small subfloor deviations, blocks moisture vapor, and provides acoustic and thermal insulation. It is especially valuable for dry back PVC installations where a vapor barrier is critical.View Product →
An alternative is a silver-foil EVA underlayment, which provides a robust moisture barrier and thermal insulation. The foil layer works well in environments with temperature swings, reducing the risk of condensation beneath the flooring system.
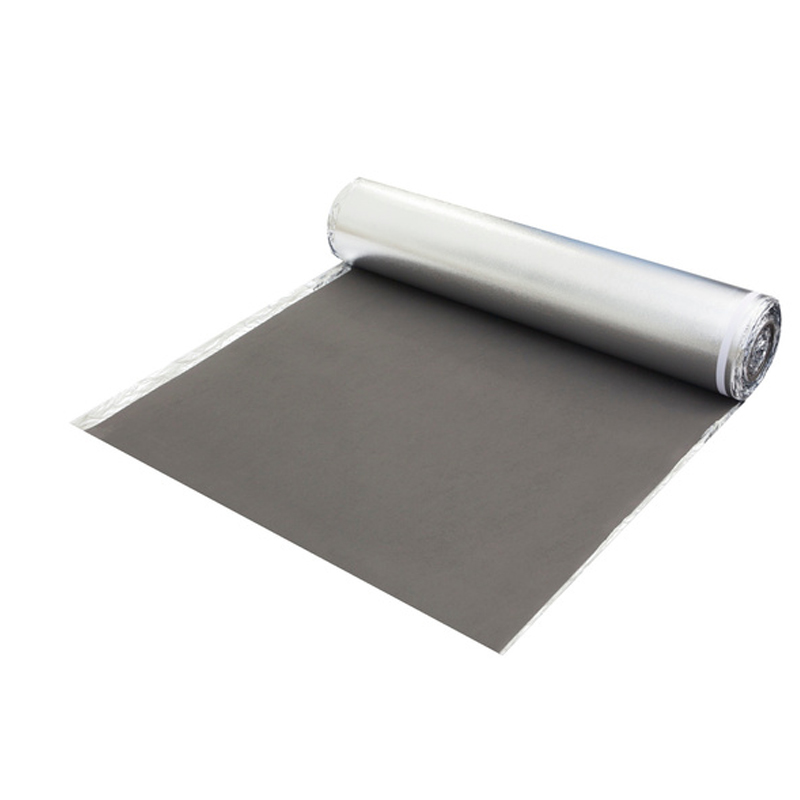 2mm Silver Foil EVA Moisture Barrier Thermal Insulation UnderlayThis closed-cell EVA underlay with a reflective silver foil membrane offers a non-permeable moisture barrier, thermal insulation, and impact sound damping. It is suitable for concrete or radiant heating subfloors and helps reduce condensation in temperature-swing environments.View Product →
Whichever underlayment you select, confirm that it is compatible with dry back PVC flooring and that the adhesive and trowel recommendation are adjusted for the surface. For a deeper look, read why acoustic EVA foam underlayment is essential for reliable floor systems.
Choose an adhesive recommended by the flooring manufacturer and use the trowel size specified in the technical datasheet. Spread the adhesive evenly, and respect the open time, which is the window during which the adhesive remains tacky. If the adhesive skins over before the plank is placed, bond strength drops sharply. Work in sections that match your laying speed so the adhesive never dries out before the plank reaches it.
Dry back PVC flooring should be stored in the installation room for at least 24 to 48 hours before laying, following the manufacturer's recommendation. This allows the material to adapt to the room temperature and humidity. Acclimation reduces post-installation expansion or contraction, which can otherwise weaken the adhesive bond and contribute to surface distortion.
After installation, the entire floor must be pressed with a roller weighing at least 50 kg, moving first in one direction and then crosswise. This step ensures full adhesive contact, forces out trapped air, and seats the planks firmly into the adhesive across the whole floor. Skip this step and you leave the door open to telegraphing and edge lifting.
Key reminder: In most cases of telegraphing, the warning signs were visible on the subfloor before installation began. Time spent on preparation is the most effective insurance against surface defects.
The right fix depends entirely on the cause, so begin with a careful inspection. Cut a small inspection flap if necessary to check the condition of the adhesive and subfloor beneath. Look for dirt, excessive trowel ridges, moisture staining, or air pockets. The visual pattern on the surface usually points to the source.
If a small area is affected by debris or a shallow depression, you can cut out the damaged plank, clean the substrate, and glue down a replacement piece. The new plank must be rolled carefully to match the surrounding level.
When moisture is the underlying cause, localized repairs will not hold. The floor must be removed, the moisture source evaluated and solved, and a moisture-blocking underlayment installed before reinstalling the flooring. This is why prevention, especially moisture control, deserves so much attention at the beginning.
Once telegraphing becomes visible in dry back PVC flooring, it will not flatten out spontaneously. Foot traffic and temperature changes usually make it more noticeable because the affected areas keep flexing. The only reliable treatment is to identify and correct the underlying cause.
It depends on the condition of the subfloor and the product specification. If the slab is smooth, level, and dry, and the datasheet allows direct glue-down, underlayment might not be required. However, whenever moisture is a concern or the slab has minor imperfections, an underlayment with a vapour barrier is the safest way to prevent telegraphing.
Most manufacturers follow a standard of no more than 3 mm deviation over 2 metres, measured with a straightedge. This is stricter than for some other floor types because dry back PVC cannot absorb even small variations in the substrate.
Telegraphing in dry back PVC flooring is preventable when the correct installation process is followed. The essential steps are simple: prepare the subfloor, control moisture with a quality underlayment, apply the adhesive correctly, acclimate the material, and press the floor thoroughly.
Working with a flooring manufacturer that provides a complete, tested system, including flooring, underlayment, and transition accessories, reduces compatibility risks and makes installation more predictable. A single source for the entire assembly is the most practical way to ensure a flat, smooth, and durable result.