Laminate Floor Reducer Suppliers
Floors in commercial high-traffic areas face a relentless daily routine: thousands of foot passes, ...
Read More


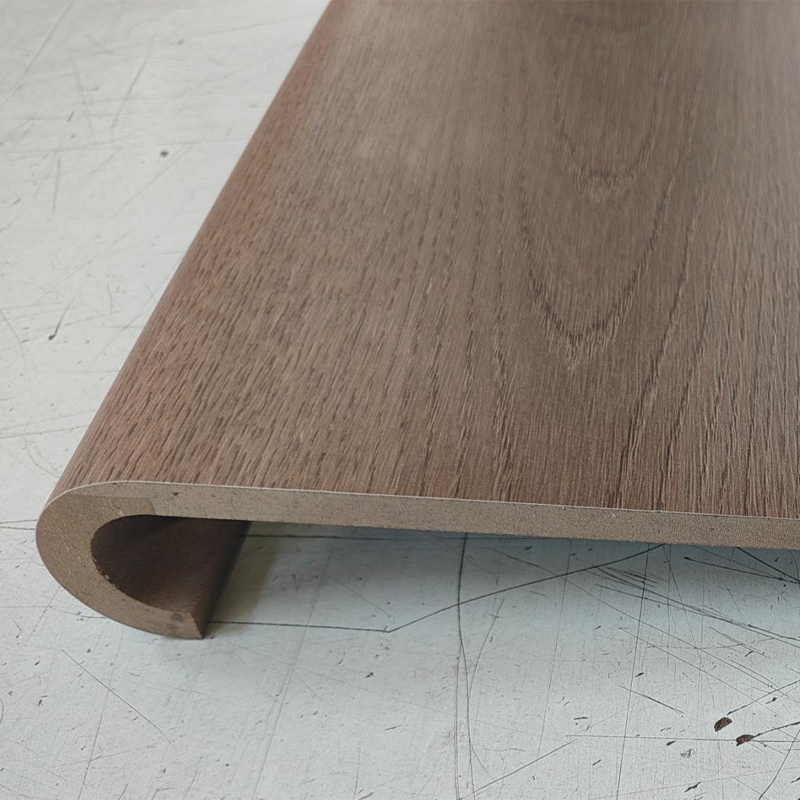
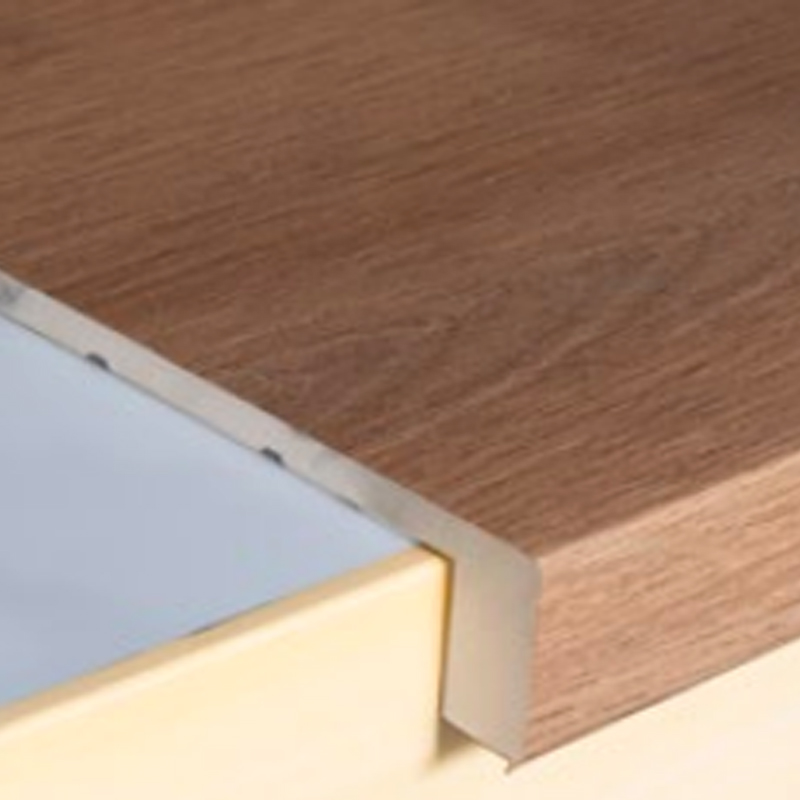
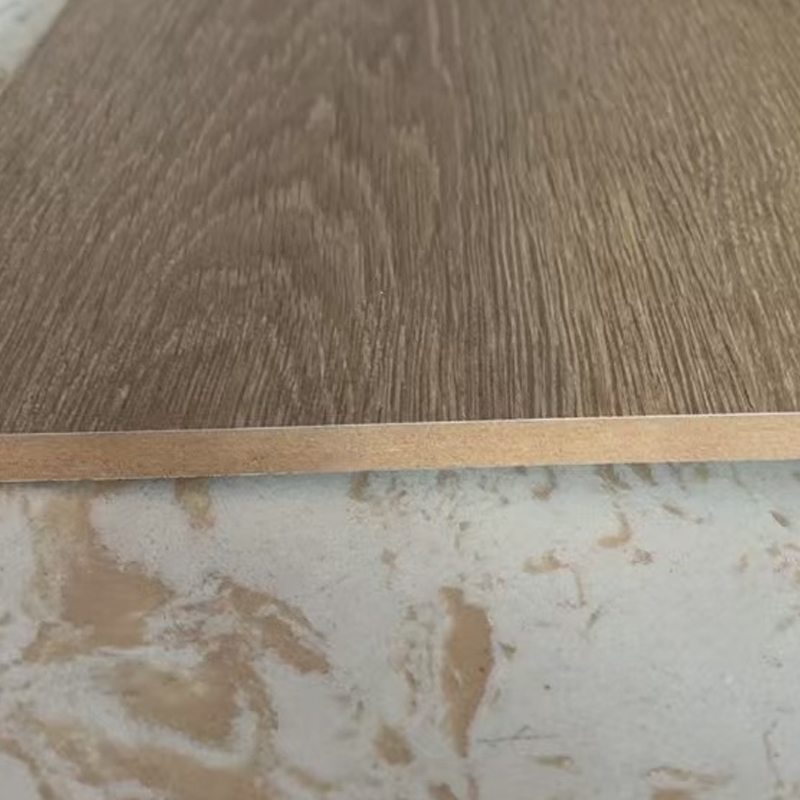
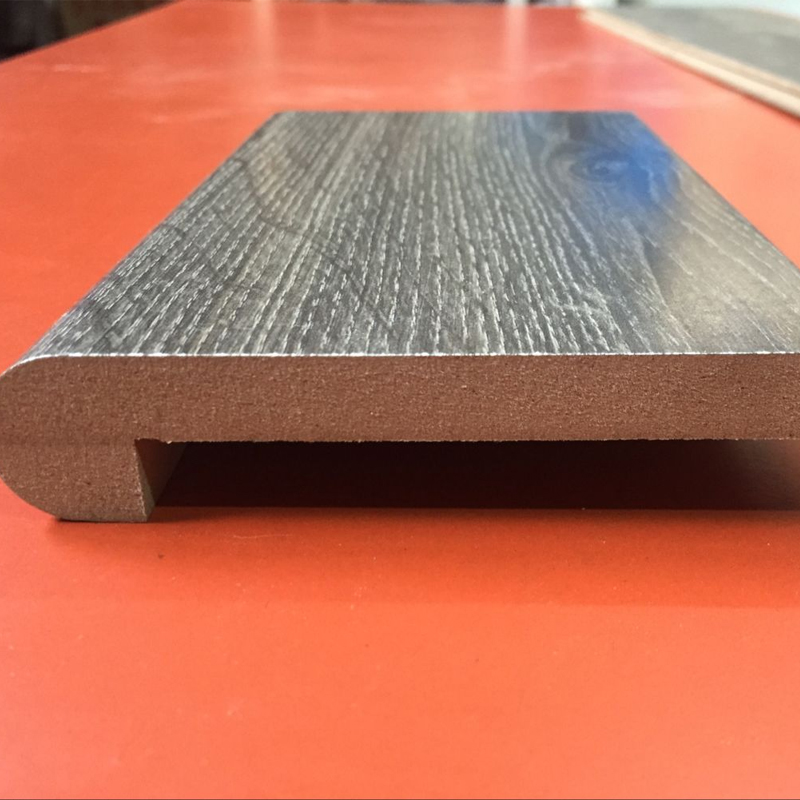
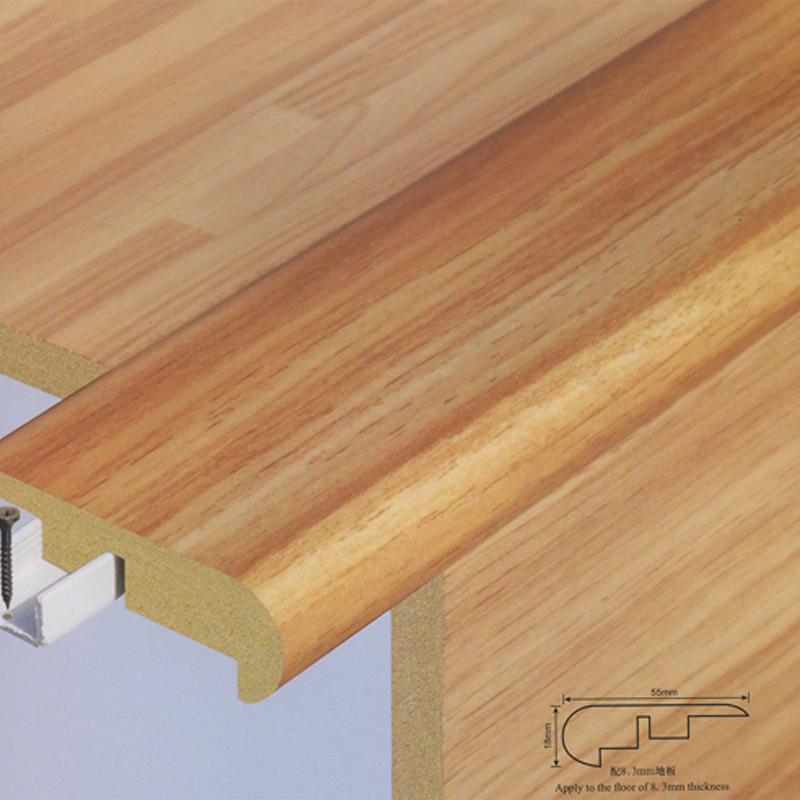
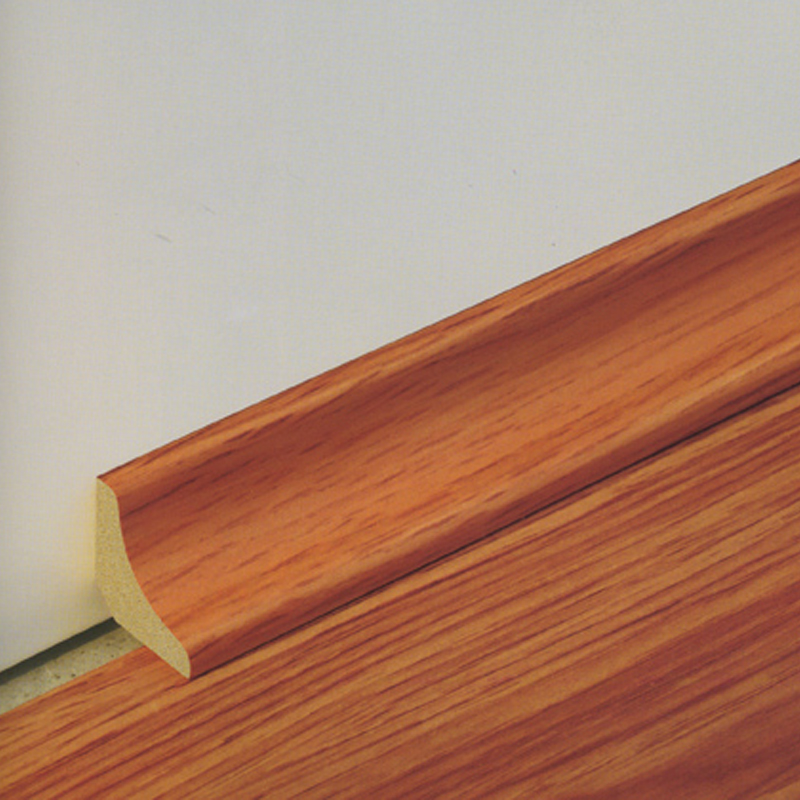
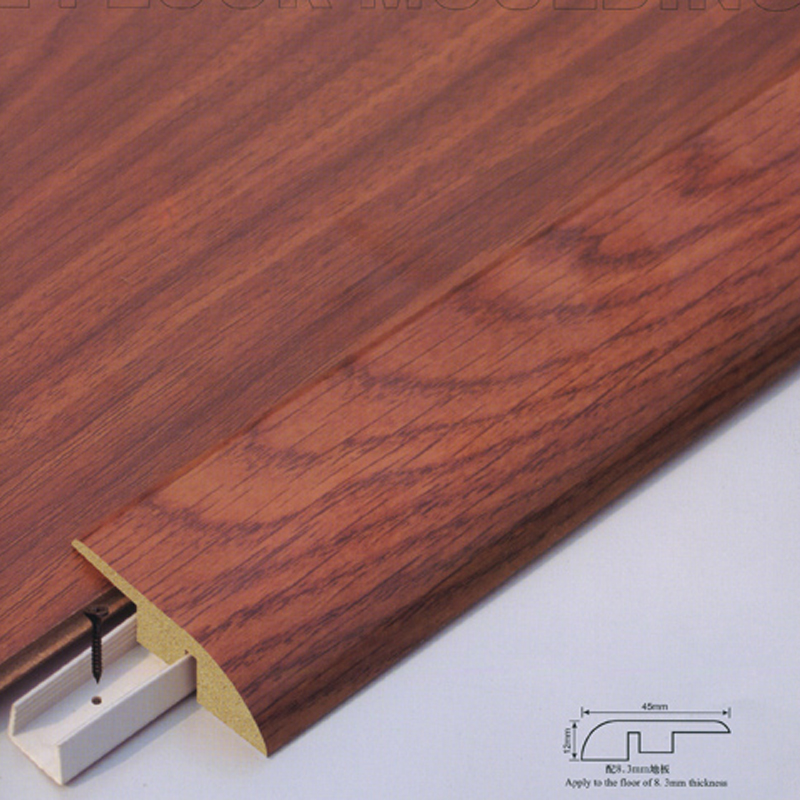
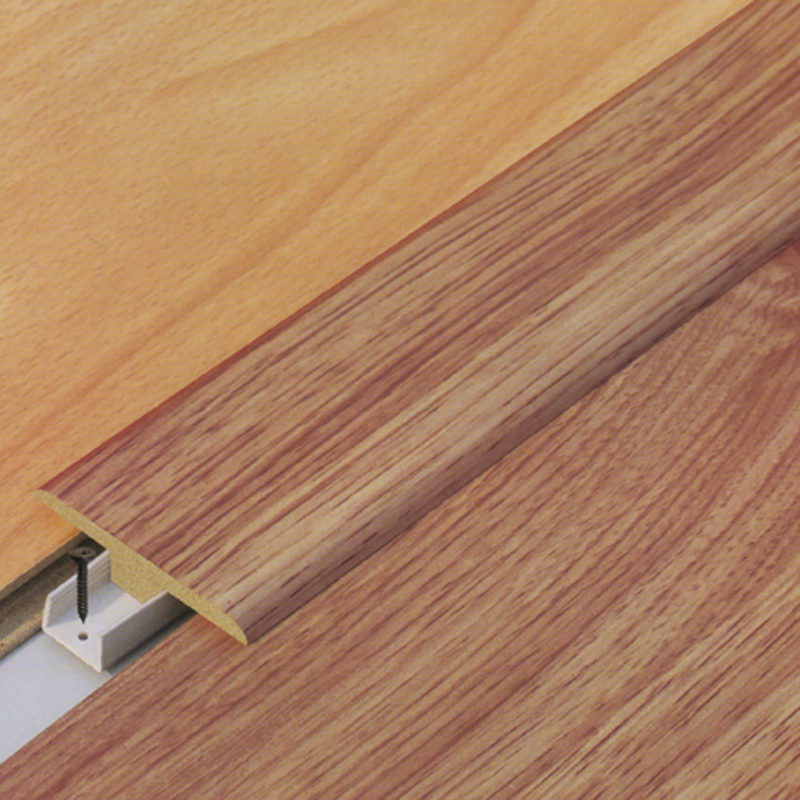
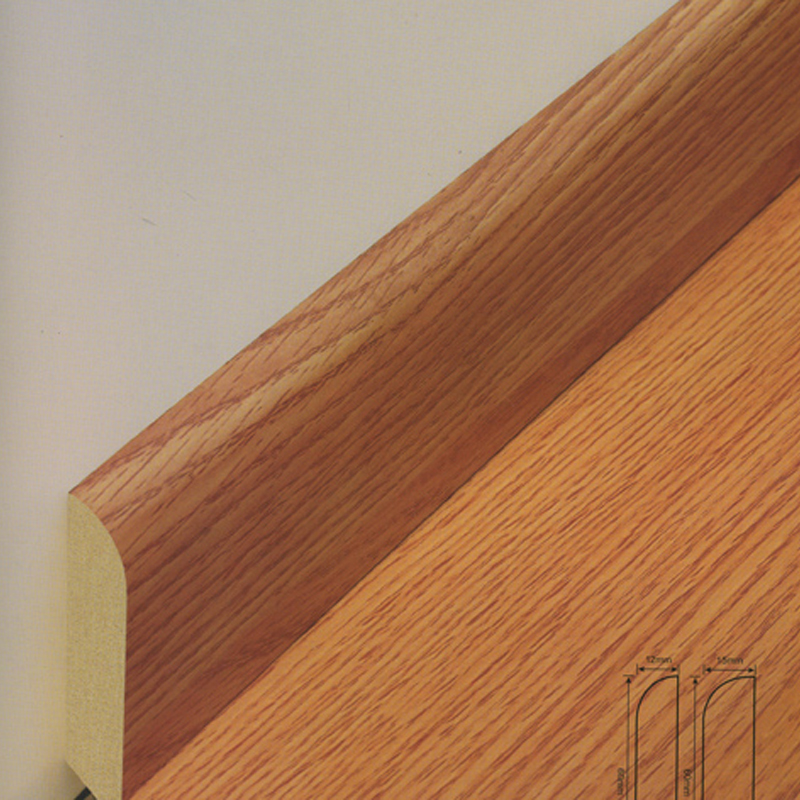
Laminate Transition has different shapes and dimensions for different uses in various spaces and rooms. Laminate Transition could be installed along with laminate flooring; the same color for both products would make it look natural.



Committed to green and sustainable development, we use high-tech eco-friendly materials to replace natural wood and actively contribute to protecting forest resources and creating a healthier living environment.


Floors in commercial high-traffic areas face a relentless daily routine: thousands of foot passes, ...
Read MoreWalk into any flooring showroom and you will hear "PVC," "vinyl," and "SPC" used almost interchang...
Read MoreWhy Kitchens Demand a Different Approach to Flooring A kitchen floor works harder than almost any o...
Read MoreInstalling a transition strip where laminate flooring meets ceramic tile is one of the most critical steps in any multi-floor renovation. A properly executed laminate transition not only protects the edges of both materials but also ensures safety, visual harmony, and long-term dimensional stability. This guide provides a professional, step-by-step methodology from selecting the right profile to final fastening while explaining why specific products are chosen for specific height gaps and traffic loads.
Before beginning, it is essential to understand that laminate flooring transition strips come in multiple geometries, each designed for a distinct height relationship between the two surfaces. The most common challenge is the height differential: laminate is typically 8 to 12 mm thick inclusive of underlayment, while tile thickness can range from 6 mm to over 20 mm depending on the substrate and mortar bed. The correct strip eliminates tripping hazards, hides raw edges, and accommodates expansion because floating laminate must move freely, whereas tile is rigidly bonded.
Manufacturers like Jiangsu Tiande New Material and Technology Co., Ltd. have refined this process by engineering transitions that match the exact thickness and colour of their laminate planks. With over 20 years of flooring production experience, Tiande's accessories are pre-matched to their flooring ranges, reducing the need for onsite height adjustments. This article draws on such professional practices to deliver a reliable installation method.
The first step is not physical but diagnostic. Measure the finished height of the tile surface and the finished height of the laminate including underlayment. Based on the difference, choose one of three primary profiles:
For most doorways between a kitchen with tile and a living room with laminate, the laminate floor reducer is the most common choice. However, if the tile was installed with a thick mortar bed, the height might be equal, calling for a T-molding. Never guess the height difference; use a straightedge and a feeler gauge. A miscalculated laminate transition will either leave a gap that collects dirt or create a hump that wears prematurely under foot traffic.
| Profile type | Height difference range | Expansion gap coverage | Fastening method |
| Reducer strip | Laminate 2–6 mm higher | 10–15 mm gap | Glue-down or screw track |
| T-molding | Within ±1.5 mm | 10–20 mm gap | Track with snap-in mechanism |
| End cap square nose | Laminate ≥5 mm higher | 8–12 mm gap | Adhesive or nail-down |
For consistent performance, Jiangsu Tiande New Material and Technology Co., Ltd. manufactures each of these profiles in the same decorative finishes as their laminate collections, ensuring that the laminate flooring transition strips visually disappear into the floor. Their reducers are CNC-machined to precise slopes, reducing the need for field-shaving, which is a common source of installation error.
With the profile selected, prepare the tile edge and the laminate edge. The tile must be clean, dust-free, and flat. If the tile edge is uneven, which is common with hand-cut tiles, use a diamond grinder to true it up; otherwise the transition strip will rock. For the laminate side, ensure that the factory-cut edge is straight; if it was site-cut, lightly sand any burrs.
Critically, leave an expansion gap of 10 to 15 mm between the laminate and the tile. This gap is non-negotiable because laminate expands and contracts with humidity changes. The transition strip must cover this gap without compressing the laminate. Many installers make the mistake of pushing the strip tightly against the laminate, which locks the floor and causes buckling. Instead, the strip's centre spine should sit over the gap, allowing the laminate to slide slightly underneath the visible cap.
For glue-down reducers, use a flexible polyurethane adhesive that remains slightly elastic after curing. This accommodates minor subfloor movement. For track-mounted T-moldings, drill pilot holes into the concrete or wood subfloor, never into the tile itself, as this can crack it. The track should be centred in the expansion gap, not biased toward either floor.
This step differentiates a long-lasting installation from a failing one. If using a metal track, common for T-moldings and some reducers, cut the track to the same length as the strip. Position it so that its centre aligns with the centre of the expansion gap. Secure it with screws every 20 to 30 cm, ensuring the track is straight by using a 1.2 m level. For concrete subfloors, use hammer-set anchors; for wood, use coarse-thread flooring screws.
If using a glue-only reducer, often a solid wood or engineered profile, apply adhesive in a continuous zigzag bead on the subfloor, staying within the footprint of the strip. Do not apply adhesive to the tile or to the laminate; apply only to the substrate. Then press the reducer down firmly, using a weighted roller or a heavy plank across the top to maintain even pressure while the glue cures, which typically takes 2 to 4 hours. A poorly bonded laminate floor reducer will pop loose within weeks, especially in high-traffic areas like kitchen entries.
At Jiangsu Tiande New Material and Technology Co., Ltd., all transition profiles are manufactured with a moisture-resistant high-density fibreboard core and a wear layer that matches the abrasion class rating of their laminate floors. This ensures that the reducer's edge does not swell if exposed to occasional wet mopping near the tile side, which is a common failure point in cheaper strips. Tiande's automated production line also applies a pre-attached foam backing to some reducers, which acts as a sound-deadening layer that improves acoustic comfort.
For track systems, simply snap the decorative top piece into the track. Apply firm, even pressure along the entire length; you should hear a click. If the strip does not snap fully, check that the track is not twisted and that no debris is trapped in the groove. Never hammer the strip directly; instead, use a rubber mallet and a block of wood to tap it into place gently.
For glue-down reducers, after the adhesive has cured according to the manufacturer's time, remove the weighting planks and inspect the edges. The top surface of the reducer should be flush with the laminate surface on one side and slightly higher than the tile on the other side. This is correct, as the ramp slopes down to the tile. The visual result should be a smooth, gradual transition without any abrupt step. The final test is to drag a broom or your foot across the junction; there should be no catching.
A professional laminate transition also accounts for colour continuity. While tile and laminate rarely match exactly, choosing a reducer that mimics the laminate's wood tone creates a cohesive flow. Many manufacturers, including Tiande, offer reducers in the same decor number as the planks, so the transition becomes almost invisible from a standing height.
After installation, check the strip's movement under load. Walk across it repeatedly; if you hear clicking or feel vertical play, the track screws need tightening or the adhesive bond is incomplete. For track systems, you can add shims under the track to raise it slightly, but only if the gap allows. For glued strips, re-press the edges with a hand roller.
Long-term maintenance is straightforward: vacuum the gap regularly to prevent grit accumulation, which can abrade the strip's finish. When mopping the tile side, wring the mop well so water does not pool against the transition edge. Although most quality reducers have a water-resistant coating, standing water can still penetrate micro-cracks. If the laminate flooring transition strips are exposed to direct sunlight, consider using a UV-protective polish to prevent fading, especially for darker wood tones.
For contractors and homeowners seeking a complete package, Jiangsu Tiande New Material and Technology Co., Ltd. offers a one-stop solution: laminate planks, underlayment, and matching transition profiles are all coordinated from the same 46,000-square-metre facility. This eliminates the guesswork of mixing brands, which often leads to mismatched heights, colours, and expansion tolerances. With two decades of export experience, Tiande's engineering team has optimised the reducer geometry to accommodate the most common tile-laminate height differentials encountered in residential and light commercial projects.
No. A standard reducer is designed to slope downward from a higher laminate to a lower tile. If the tile is higher, you should use a T-molding when heights are nearly equal, or a special overlap reducer that caps the tile edge. Alternatively, use a ramp threshold that bridges from the tile down to the laminate. Always measure the exact height difference before purchasing any laminate transition profile.
It depends on the profile type. T-moldings and some reducers use a screw-down metal track, which allows for future replacement without damaging the floors. Solid wood reducers are typically glued directly to the subfloor. For concrete substrates, glue is preferred because drilling many anchor holes can weaken the slab. Always follow the manufacturer's recommendation; laminate flooring transition strips from reputable brands include clear installation guidelines.
For most laminate floors, the gap should be 10 to 15 mm from the tile edge. This matches the standard expansion allowance of 1.5 mm per metre of room width. The transition strip's centre channel should cover this gap without pinching the laminate. If the gap is too narrow, the laminate may buckle; if too wide, the strip might not cover it fully, leaving an exposed crack.
Most major laminate manufacturers, including Jiangsu Tiande New Material and Technology Co., Ltd., produce coordinated reducers, T-moldings, and end caps in the same decor codes as their planks. Check the product number on your laminate box and order the corresponding transition accessory from the same brand. Mixing generic strips often results in a colour or grain mismatch that detracts from the overall flooring appearance.
This installation guide reflects professional practices for laminate transition and laminate floor reducer applications. Always consult your flooring supplier for specific product tolerances and adhesive compatibility.


